Welcome to the wonderful world of baking and decorating! If you’ve ever gazed in awe at the beautiful designs of crafted cakes and cookies, chances are you’ve encountered royal icing. As a passionate baker, I can attest to the transformative power of learning the art of royal icing. I’m thrilled to share with you my royal icing recipe and walk you through every step of the process, ensuring that you achieve perfect results every time.
Understanding Royal Icing
Royal icing is often overlooked in cake decorating—a versatile icing that dries hard, making it ideal for creating stunning designs, intricate patterns, and delicate decorations. Unlike buttercream or fondant, royal icing sets firm, providing a stable canvas for your artistic endeavors. Its ability to hold its shape once piped onto a surface makes it indispensable for creating everything from delicate lacework to sturdy gingerbread houses.
Essential Ingredients
Let’s start with the building blocks of royal icing—its essential ingredients. To whip up a batch of royal icing, you’ll need just a handful of simple pantry staples: powdered sugar, egg whites, water, and flavorings (if desired). Powdered sugar serves as the base, providing sweetness and structure, while egg whites act as the magical ingredient that gives royal icing its stability and smooth texture. Water is used to thin the icing to the desired consistency, while flavorings such as vanilla extract, lemon juice, or almond extract add depth and complexity to the flavor profile.
Step-by-Step Instructions
Now, let’s dive into the nitty-gritty of making royal icing. Follow these step-by-step instructions for guaranteed success:
- Preparation: It’s crucial to ensure that your workspace and utensils are immaculately clean. Even the slightest hint of grease can sabotage your efforts, so give your mixing bowl, whisk, and spatula a thorough wash with hot, soapy water. Dry them completely to avoid any moisture affecting the texture of your icing.
- Separate Egg Whites: Carefully crack your eggs, ensuring that no trace of yolk contaminates the whites. Even a tiny amount of yolk can hinder the egg whites from reaching their full volume when whipped. To minimize the risk, crack each egg into a separate small bowl before transferring the whites to your mixing bowl, an egg separator works great for this.
- Whisk Egg Whites: Since you already prepared that nice clean mixing bowl let’s get started by adding in the separated egg whites. Using either a handheld electric mixer or a stand mixer fitted with the whisk attachment, begin beating the egg whites on medium speed. Watch as they transform from translucent liquid to frothy goodness—a process that typically takes 1-2 minutes.
- Gradually Add Powdered Sugar: It’s time to introduce the powdered sugar to the egg whites. Sift your powdered sugar beforehand to ensure a silky-smooth texture in your icing. With the mixer running on low speed, add the powdered sugar gradually, about one cup at a time. Slowly adding in the powdered sugar prevents clumps and guarantees a uniform consistency.
- Mix Until Smooth: Crank up the mixer to medium-high speed and let it work its magic. Continue beating the mixture until it thickens, becomes glossy, and forms stiff peaks. This process typically takes around 5-7 minutes, but keep an eye on the consistency—once you achieve stiff peaks, it’s time to move on to the next step.
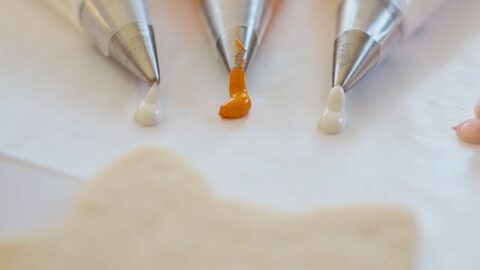
- Adjust Consistency: Take a moment to look at the consistency of your royal icing. For outlining and intricate piping work, a thicker consistency is desirable, while flooding requires a slightly thinner icing. To achieve your desired consistency, you may need to add water (a teaspoon at a time for precision) to thin the icing or more powdered sugar to thicken it. This is where practice and patience are in order, to achieve what you are looking for. I have scraped off cookies over the years and started over and learned what works for me. Being a self-taught home baker, let’s say there were more than a couple!
- Mix Until Smooth (Again): After adjusting the consistency, give your icing another whirl to ensure it’s perfectly smooth and free from any lumps or air bubbles. A smooth consistency will make piping and decorating a breeze, allowing your creativity to flow without hindrance.
- Color and Flavor: Once you’ve achieved the desired consistency, it’s time to add color and flavor to your royal icing. Gel food coloring is your best option for achieving vibrant hues without compromising the icing’s consistency. Start with a small amount of color and gradually add more until you reach the desired shade. When it comes to flavorings, the possibilities are endless—whether you prefer classic vanilla, zesty lemon, or aromatic almond, a splash of flavor can elevate your royal icing to new heights.
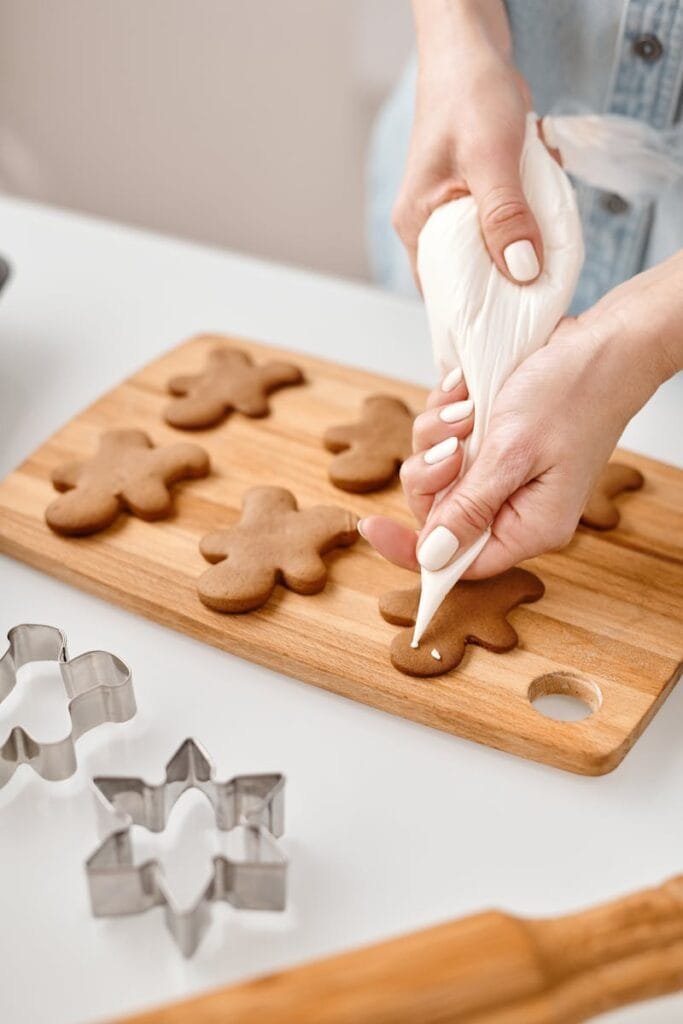
- Use: OK, your royal icing is ready, now what? It’s time to unleash your creativity! Transfer the icing to a piping bag fitted with your preferred decorating tip and let your imagination run wild.
How To Safely Store
If you’re not using the icing immediately, royal icing made with egg whites requires proper handling to maintain its texture and prevent it from spoiling. Here’s how you can store it safely:
Airtight Container: Transfer any leftover royal icing to an airtight container immediately after preparing it. Ensure that the container has a tight-sealing lid to prevent air from entering and drying out the icing.
Cover Surface: Before sealing the container, cover the surface of the royal icing with a piece of plastic wrap. Press the plastic wrap directly onto the surface of the icing to create a barrier that prevents it from drying out.
Refrigeration: If you plan to store the royal icing for an extended period or if your kitchen is warm, it’s advisable to refrigerate it. Place the sealed container of royal icing in the refrigerator, where it can be safely stored for up to one week.
By following these storage guidelines, you can safely store royal icing made with egg whites and enjoy its decorative benefits for longer periods. Remember to always use clean utensils and containers to prevent contamination and spoilage.
How To Check Royal Icing for Optimal Use
Check Before Use: Before using the stored royal icing, check its consistency and texture. If it has thickened or dried out during storage, you may need to adjust the consistency by adding a small amount of water and mixing until smooth.
Safe Consumption: When using royal icing that has been stored, it’s essential to ensure that it hasn’t spoiled. Check for any signs of mold, off smells, or unusual texture before using. If the icing appears or smells off, discard it immediately to prevent any risk of foodborne illness.
Clean Up
Clean Up: Once your decorating masterpiece is complete, remember to promptly clean your utensils to prevent the royal icing from hardening. If any icing does dry on your equipment, soak it in warm, soapy water to soften it before washing thoroughly. A clean slate ensures you’re ready for your next royal icing adventure!
Creative Uses and Decorations
With your newfound expertise in royal icing, the possibilities are endless! Here are just a few creative ideas to spark your imagination:
- Decorating Cookies: Use royal icing to create intricate designs, patterns, and even personalized messages on sugar cookies. Whether you’re celebrating a special occasion or simply indulging your sweet tooth, the only limit is your imagination.
- Cake Decorating: Transform a plain cake into a work of art with royal icing decorations. From elegant borders and delicate flowers to whimsical characters and intricate designs, royal icing offers endless opportunities for creativity and expression.
- Gingerbread Houses: ‘Tis the season for gingerbread houses! With royal icing as your glue, you can construct and decorate your very own edible masterpiece. Whether you’re building a cozy cottage or a grand mansion, royal icing is essential for creating sturdy structures and intricate decorations.
- Cupcake Toppers: Elevate your cupcakes to the next level with royal icing decorations. Whether you’re crafting cute animals, festive holiday motifs, or elegant floral designs, royal icing adds a touch of whimsy and charm to any sweet treat.
Mastering royal icing is like learning to ride a bike—wobbly at first, but a smooth ride with practice. If your icing looks more like a Pollock painting than a Monet, don’t fret. Play with the icing’s texture, splash in some color, and remember, it’s all about the fun journey, not just the pretty finish!
So, wield your piping bag like a wizard’s wand, and let your creativity flow. Here’s to making your desserts as dreamy as your imagination. We always appreciate feedback from our readers, so please leave a comment if you try out this recipe. Happy Baking!