
If you're anything like me, a good chocolate frosting is essential for your recipe box. There's nothing quite like a luscious, homemade chocolate frosting to elevate your cakes, cupcakes, cookies, and even brownies. Today, I'm thrilled to share with you my go-to recipe for decadent chocolate frosting. It's rich, creamy, and sure to satisfy any chocolate craving. Whether you're an experienced baker or just starting out, this frosting is easy and very tasty.
Unsalted butter, softened: The foundation of any great frosting. Softened butter ensures a creamy and smooth texture when beaten.
Unsweetened chocolate bar, melted and cooled: Provides a rich, intense chocolate flavor that cocoa powder alone can't match.
Powdered sugar: Sweetens the frosting while contributing to a smooth, velvety texture. Make sure to sift it to avoid any lumps.
Heavy cream: Adds richness and helps achieve the perfect consistency. It makes the frosting smooth and easy to spread or pipe.
Vanilla extract: Enhances the chocolate flavor and adds a wonderful aroma.
Pinch of salt: Balances the sweetness and deepens the chocolate flavor.
I have to confess, I used to rely on cocoa powder for my chocolate frosting, but everything changed when I tried using an unsweetened chocolate bar. The depth of flavor from melted chocolate is unmatched and brings a richness and intensity that cocoa powder alone just can't match.
Step-by-Step to Silky Chocolate Frosting Bliss
First things first, make sure all your ingredients are at room temperature. This is especially important for the butter, ensuring a smooth and creamy consistency.
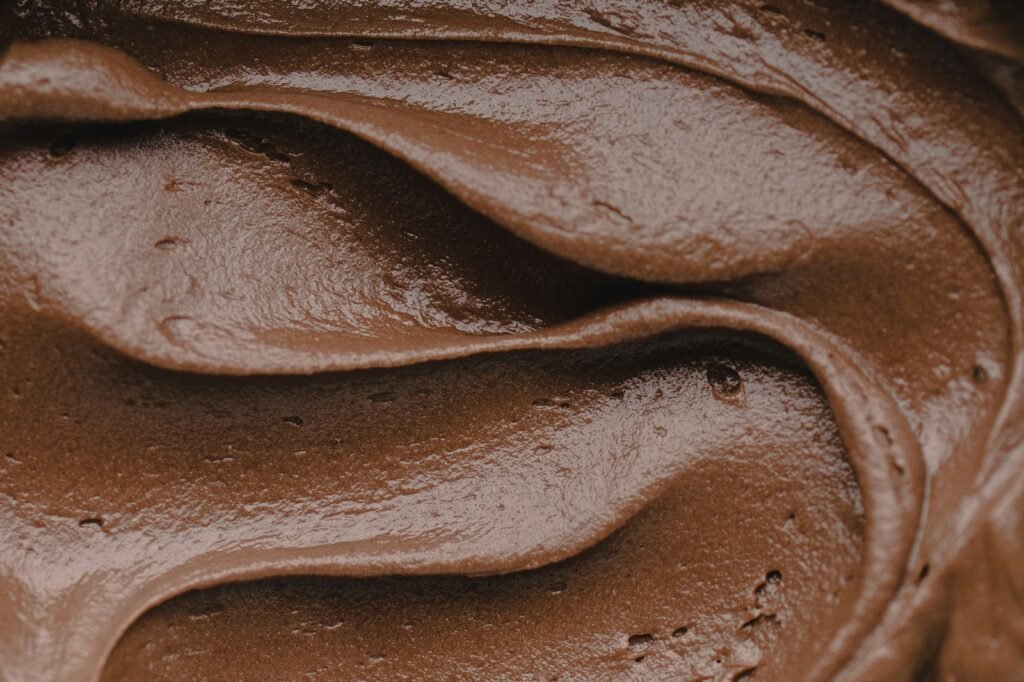
Remember, a good frosting should be smooth, creamy, and easy to spread or pipe.
High-Quality Chocolate: Use the best unsweetened chocolate you can find. The quality of chocolate makes a big difference in the final product.
Unsalted Butter: Using unsalted butter allows you to control the saltiness of the frosting. If you only have salted butter, just skip the pinch of salt in the recipe.
Too Grainy
If your frosting turns out grainy, it might be because the powdered sugar wasn’t sifted. Sifting the sugar before adding it to the mixture can prevent this issue.
Too Stiff
If the frosting is too stiff, add more cream, one tablespoon at a time, until you achieve the desired consistency. This will help soften it up and make it easier to spread.
Too Soft
On the flip side, if your frosting is too soft, chill it in the refrigerator for 10-15 minutes. Due to this recipe containing butter, this can help it firm up and become more manageable.
You’ve made your frosting—now it’s time to apply it. Here are some tips to ensure your frosting not only tastes amazing but looks fantastic too.
Cool Your Cake
This might seem obvious, but I’ve been tempted to rush this step more times than I can count. Frosting a warm cake will result in a melty mess, so be patient and let the cake cool completely.
Crumb Coat for a Smooth Finish
The crumb coat is a thin layer of frosting that you apply first to seal in any stray crumbs. It makes the final layer look much smoother and more professional. After applying the crumb coat, pop the cake in the fridge for 20-30 minutes to set it before adding the final layer.
Use an Offset Spatula
For a perfectly smooth finish, an offset spatula is your best friend. Dip it in warm water, shake off the excess, and use it to smooth the frosting. The warm spatula glides over the frosting, creating a flawless finish.
Get Creative with Decoration
Don’t stop at just spreading the frosting—get creative! Use a piping bag for swirls and rosettes, or try simple decorations like chocolate shavings, sprinkles, or a drizzle of melted chocolate.
Store any leftover frosting in an airtight container in the refrigerator for up to a week. Before using, let it come to room temperature and re-whip if necessary. If you need to keep it longer, you can freeze it for up to three months. Just thaw it in the refrigerator overnight and bring it to room temperature before using.
Use a Stand Mixer: It makes the process easier and ensures a well-blended frosting. Hand mixers work too, but a stand mixer can make things a lot simpler, especially when you’re working with larger batches.
Chill Your Tools: For a smoother frosting, chill your mixing bowl and beaters before starting. This can help keep the frosting cool and prevent it from becoming too soft, especially if you’re working in a warm kitchen.
This decadent chocolate frosting is a game-changer for any dessert. Its rich, creamy texture and deep chocolate flavor will leave everyone asking for more. Whether you’re frosting a simple sheet cake or an elaborate layer cake, this recipe is sure to impress. Give it a try on your next baking project and watch your treats transform into irresistible delights!
If you try this recipe, please don’t forget to share your comments with us in the comments below! Happy Baking!
This creamy chocolate frosting is made with high-quality unsweetened chocolate, butter, powdered sugar, and heavy cream. This frosting is perfect for cakes, cupcakes, and cookies, this easy-to-make chocolate frosting will impress everyone with its rich flavor.
The cream helps achieve that silky, smooth texture that spreads like a dream. I usually start with 2 tablespoons and adjust from there.
Thank you for trying our recipe. Please leave a review in our comment section if you enjoyed it or have any questions.
Enjoy your day.
Sandy