Last Christmas, my husband asked me to add Gingerbread cookies to my already extensive holiday cookie lineup. I tried multiple recipes, but none of them were quite right, they lacked flavor or crumbled easily. One year, I ended up with a container full of gingerbread cookie body parts after working hard to decorate them. Although my family graciously still ate them, it motivated me to create a recipe that would hold its shape, taste great, and not break apart.
This year, I finally succeeded in making gingerbread cookies that arrived at Christmas fully intact and were even complimented by my nephew, who said they were better than his mom’s recipe (I silently patted myself on the back).
These cookies are a delicious and festive treat that captures the warm and comforting flavors of the holiday season. These gingerbread cookies are more than just tasty treats; they represent the joy, tradition, and warmth of the holiday season and the spirit of sharing during special occasions.
The Magic of Gingerbread
A Brief History
Gingerbread has a long history, dating back to Greece. The version we know and love today originated in Europe during the Middle Ages, when spices like ginger became more accessible. These cookies were often used to create elaborate displays and shapes, a tradition that continues to this day.
Why Rolled Gingerbread Cookies?
Rolled gingerbread cookies are a holiday favorite for many reasons. They’re versatile, allowing for a wide range of shapes and decorations. They’re also sturdy enough to hang on your Christmas tree if you’re into edible ornaments. Most importantly, they taste fantastic, with a perfect balance of spices and sweetness.
Ingredients
To make these rolled gingerbread cookies, you’ll need the following ingredients:
- Molasses: Adds depth and richness to the flavor.
- Honey: Enhances sweetness and adds a lovely floral note.
- Brown Sugar: Provides sweetness and a slight chewiness.
- Ground Ginger and Spices: Cinnamon, cloves, and nutmeg are a must for that classic gingerbread taste.
- Butter and Eggs: Essential for texture and binding.
- All-Purpose Flour and Cake Flour: The combination ensures a perfect texture; cake flour adds a delicate crumb.
- Baking Soda: Helps the cookies rise just a bit.
- Orange Zest: The citrusy hint complements the spices beautifully and adds a refreshing twist to the traditional flavor.
Equipment Needed
Having the right tools makes all the difference:
- Rolling Pin: A rolling pin is essential for flattening and rolling out your cookie dough evenly. Look for one with smooth, non-stick surfaces to ensure that the dough doesn’t stick.
- Cookie Cutters: Choose a variety of festive shapes for your cookies, such as stars, trees, and gingerbread men. This adds a fun and decorative touch to your baked treats.
- Baking Sheets: Make sure to use nonstick baking sheets or line them with parchment paper to prevent the cookies from sticking and to ensure even baking.
- Cooling Racks: Cooling racks are essential for allowing your freshly baked cookies to cool properly. This helps prevent them from becoming soggy on the bottom.
- Stand Mixer, Mixing Bowls and Utensils: A stand mixer, mixing bowls, and utensils are necessary for combining and mixing your cookie ingredients thoroughly.
Step by Step Instructions
- Preparing the Dough: Start by creaming together the butter and brown sugar until light and fluffy. This process incorporates air into the mixture, which helps your cookies rise slightly and gives them a light texture.
- Adding Molasses Honey, Eggs and Orange Zest: Next, add the molasses, honey, orange zest and eggs to the butter and sugar mixture. The molasses not only adds flavor but also gives the cookies their characteristic dark color. Mix until well combined.
- Incorporating Dry Ingredients: In a separate bowl, whisk together the flour, baking soda, and spices. Gradually add the dry ingredients to the wet mixture, stirring until just combined.
- Chilling It: Divide the dough in half and shape the dough into a disk, wrap each disk in plastic wrap, and chill in the refrigerator for at least 1 hour. This step is crucial as it firms up the dough, making it easier to roll out and cut into shapes. I’ve found that overnight chilling yields even better results and the flavors meld together beautifully.
- Getting the Surface Ready: Sprinkle some flour on your work surface and the rolling pin to keep the dough from sticking. Or you can sandwich the dough between two sheets of parchment paper for easy cleanup.
- Rolling it Just Right: For the best results, aim for a thickness of about 1/4 inch when rolling out your dough. This will give you cookies that are sturdy enough for decorating but still nice and soft in the middle. To keep things consistent, start rolling from the middle of the dough and work your way out, giving the dough a turn every so often. Using rolling pin guides can also help you achieve a nice, even thickness.
- Using Cookie Cutters: Press your cookie cutters firmly into the dough, and wiggle them slightly to ensure clean edges. Gather the scraps, reroll, and cut more shapes until all the dough is used.
- Baking the Cookies: Preheat your oven to 350°F (175°C). This temperature is ideal for baking gingerbread cookies, allowing them to cook evenly without burning the edges. Bake the cookies for 8-10 minutes, or until the edges are just beginning to brown. Keep a close eye on them, as they can go from perfectly baked to overdone quickly. The cookies will continue to firm up as they cool.
- Cooling Process: Transfer the cookies to a cooling rack immediately after baking. This helps them cool evenly and prevents them from becoming soggy. I always enjoy a few warm cookies fresh out of the oven – the best part of baking, in my opinion!
Decorating Ideas
Classic Royal Icing
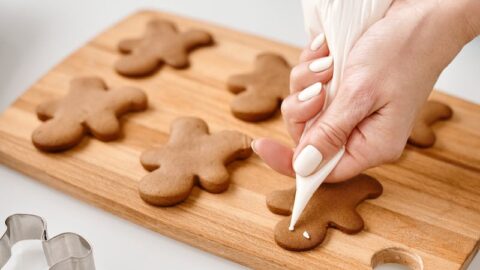
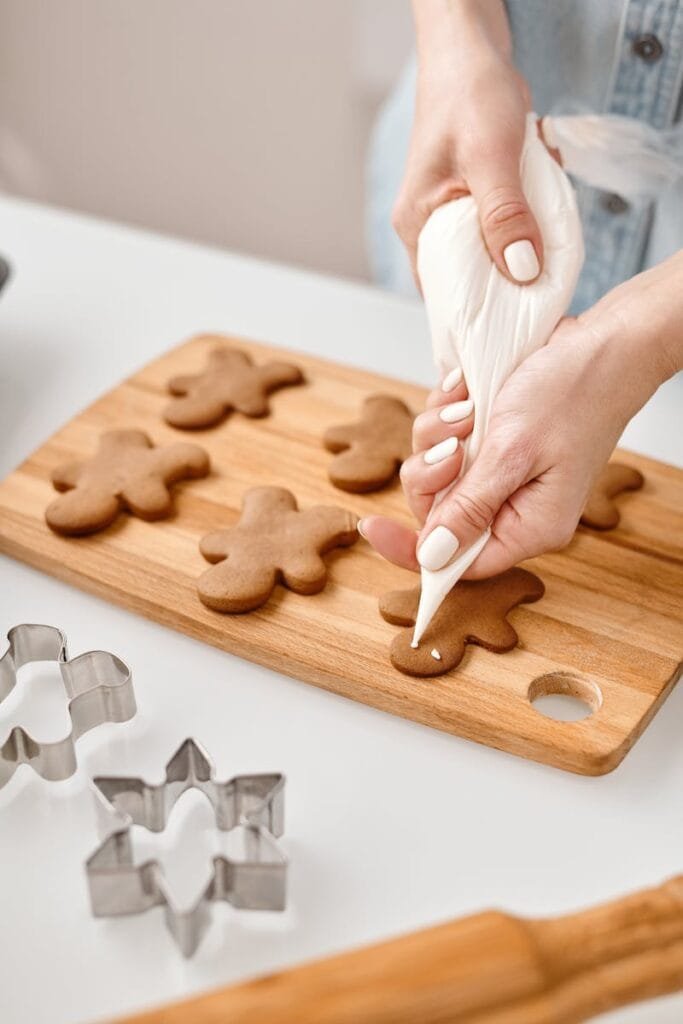
Royal icing is the goto for decorating gingerbread cookies. Give our Royal Icing recipe a try.
Creative Decorating Ideas
- Edible Glitter: Adds a festive sparkle.
- Colored Sugars: Sprinkle on wet icing for a burst of color.
- Sprinkles and Nonpareils: Perfect for adding texture and fun designs.
Storing and Preserving Freshness
Remember these tips for storing gingerbread cookies to keep them fresh and tasty:
Short-Term Storage
Use airtight containers with a tight seal and place wax paper or parchment paper between layers. Store at room temperature in a cool, dry place away from direct sunlight.
Metal tins with parchment paper between layers also work well for short-term storage.
Long-Term Storage
For long-term storage, you can freeze the dough for up to three months. Wrap it tightly in plastic wrap and place it in a freezer bag. Label it and thaw it in the refrigerator before use.
To freeze baked cookies, place them in a single layer on a baking sheet. Once frozen, transfer them to an airtight container or freezer bag with parchment paper between layers. Thaw and decorate before serving.
If you have decorated cookies, make sure the icing is completely dry, then wrap each cookie individually in plastic wrap and store them in an airtight container. Thaw them in the refrigerator.
By following these storage tips, you can enjoy fresh gingerbread cookies throughout the holiday season and beyond. Happy baking!
Making Dough in Advance
You can make the dough up to three days in advance. Wrap it tightly in plastic wrap and store it in the fridge. For longer storage, freeze the dough for up to three months. Thaw in the refrigerator before using.
Making rolled gingerbread cookies is more than just a baking activity; it’s a cherished tradition that brings warmth and joy to the holiday season. From the fragrant spices to the creative decorating, each step in the process offers a chance to create something beautiful and delicious.
Take the time to enjoy the process, share the experience with loved ones, and create lasting memories. There’s nothing quite like the satisfaction of seeing your baked and decorated gingerbread cookies, knowing that you’ve crafted them from scratch. Happy baking!
Delicious Rolled Gingerbread Cookies with Honey and Spices
These gingerbread cookies are not just delicious treats; they are a symbol of holiday joy, tradition, and the heartwarming spirit of sharing during special occasions. Very easy to make, roll thin for a nice crisp cookie are thicker for a mmore cake like gingerbread cookie.
Cutout Sugar Cookies
Cutout Sugar Cookie
Instructions
-
Preparing the Dough: Start by creaming together the butter and brown sugar until light and fluffy. This process incorporates air into the mixture, which helps your cookies rise slightly and gives them a light texture.
-
Adding Molasses Honey, Eggs and Orange Zest: Next, add the molasses, honey, orange zest and eggs to the butter and sugar mixture. The molasses not only adds flavor but also gives the cookies their characteristic dark color. Mix until well combined.
-
Incorporating Dry Ingredients: In a separate bowl, whisk together the flour, baking soda, and spices. Gradually add the dry ingredients to the wet mixture, stirring until just combined.
-
Chilling It: Divide the dough in half and shape the dough into a disk, wrap each disk in plastic wrap, and chill in the refrigerator for at least 1 hour. This step is crucial as it firms up the dough, making it easier to roll out and cut into shapes. I’ve found that overnight chilling yields even better results and the flavors meld together beautifully.
-
Getting the Surface Ready: Sprinkle some flour on your work surface and the rolling pin to keep the dough from sticking. Or you can sandwich the dough between two sheets of parchment paper for easy cleanup.
-
Rolling it Just Right: For the best results, aim for a thickness of about 1/4 inch when rolling out your dough. This will give you cookies that are sturdy enough for decorating but still nice and soft in the middle. To keep things consistent, start rolling from the middle of the dough and work your way out, giving the dough a turn every so often. Using rolling pin guides can also help you achieve a nice, even thickness.
-
Using Cookie Cutters: Press your cookie cutters firmly into the dough, and wiggle them slightly to ensure clean edges. Gather the scraps, reroll, and cut more shapes until all the dough is used.
-
Baking the Cookies: Preheat your oven to 350°F (175°C). This temperature is ideal for baking gingerbread cookies, allowing them to cook evenly without burning the edges. Bake the cookies for 8-10 minutes, or until the edges are just beginning to brown. Keep a close eye on them, as they can go from perfectly baked to overdone quickly. The cookies will continue to firm up as they cool.
-
Cooling Process: Transfer the cookies to a cooling rack immediately after baking. This helps them cool evenly and prevents them from becoming soggy. I always enjoy a few warm cookies fresh out of the oven – the best part of baking, in my opinion!


